Create a Fleet Server
We previously deployed an Ubuntu VM from osboxes.org to use as our Fleet Server.
To configure it as a Fleet Server, we go back to the Elastic web interface. From our analyst machine, we navigate to our Elastic server using a web browser.
From the hamburger menu, select Management > Fleet and click the blue Add Fleet Server button.
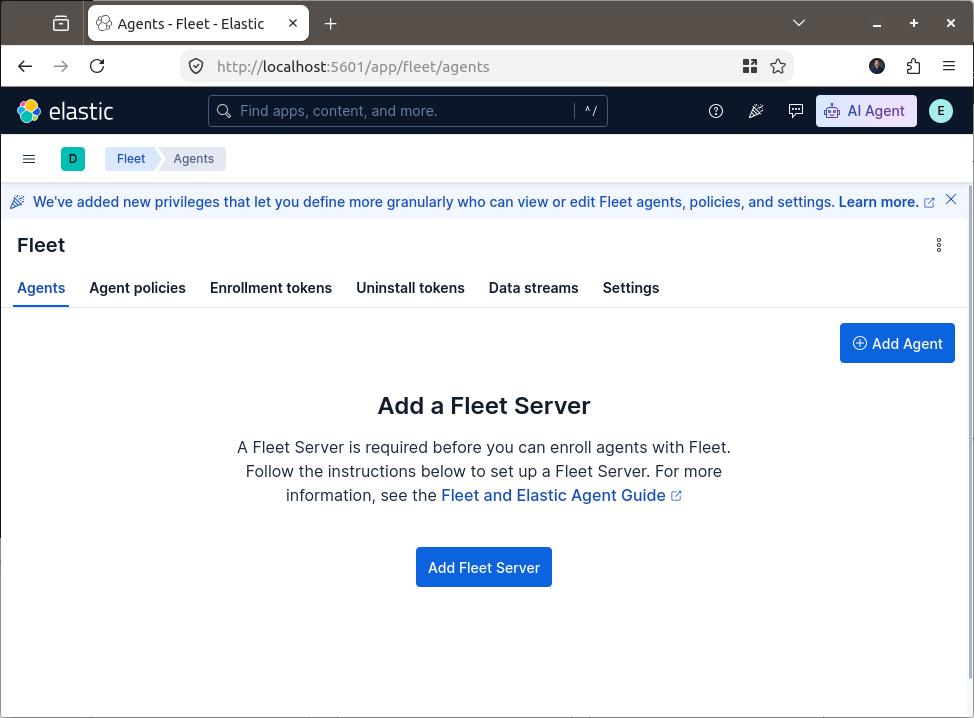
A Fleet Server is required before we can enroll Elastic Agents using Fleet.
From the side panel, select Quick Start. We enter MYDFIR-FLEET-SERVER as the Fleet Server name and specify the Fleet Server URL:
https://172.31.0.10
We then click Generate Fleet Server Policy.
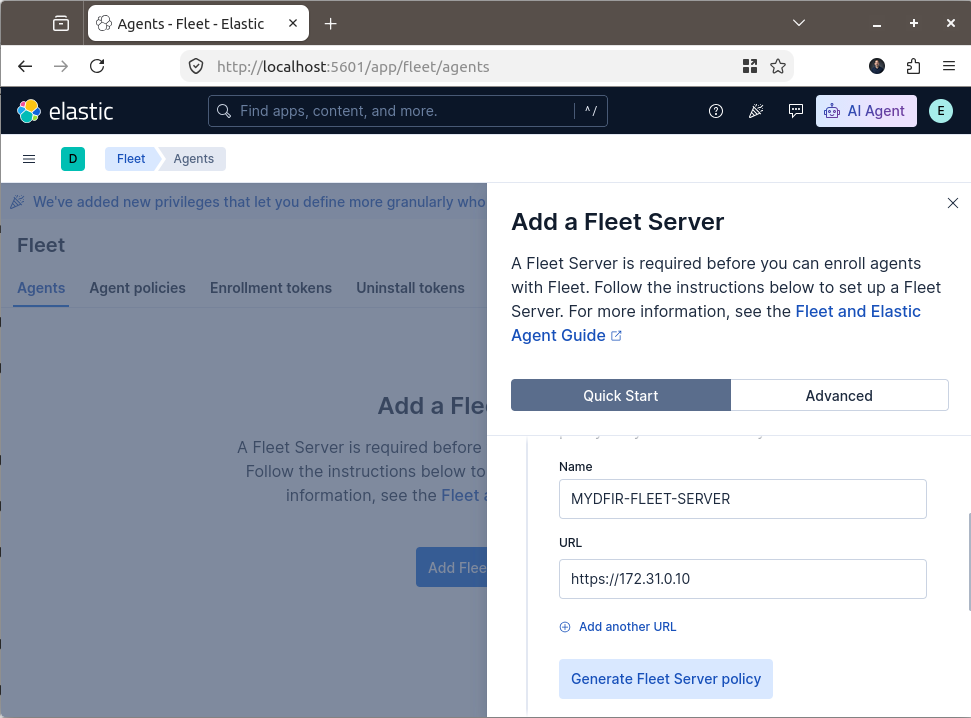
After a couple of minutes, we receive confirmation that the Fleet Server policy has been created.
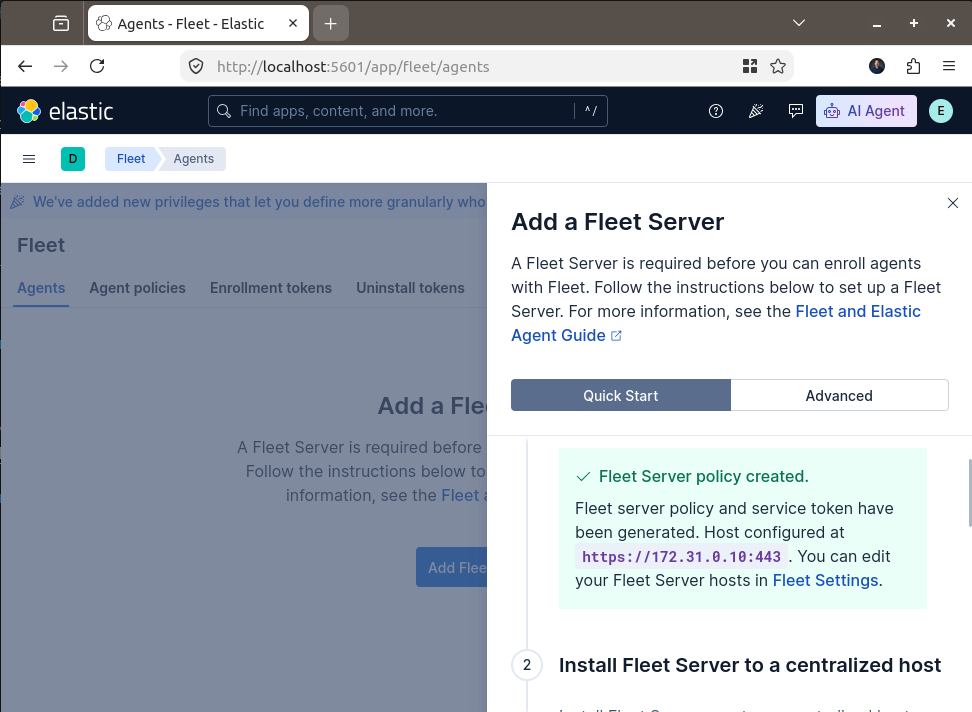
We can now proceed to Step 2, Install Fleet Server to a centralized host.
We will run the installation commands from Step 2 on our Ubuntu MYDFIR-FLEET-SERVER VM.
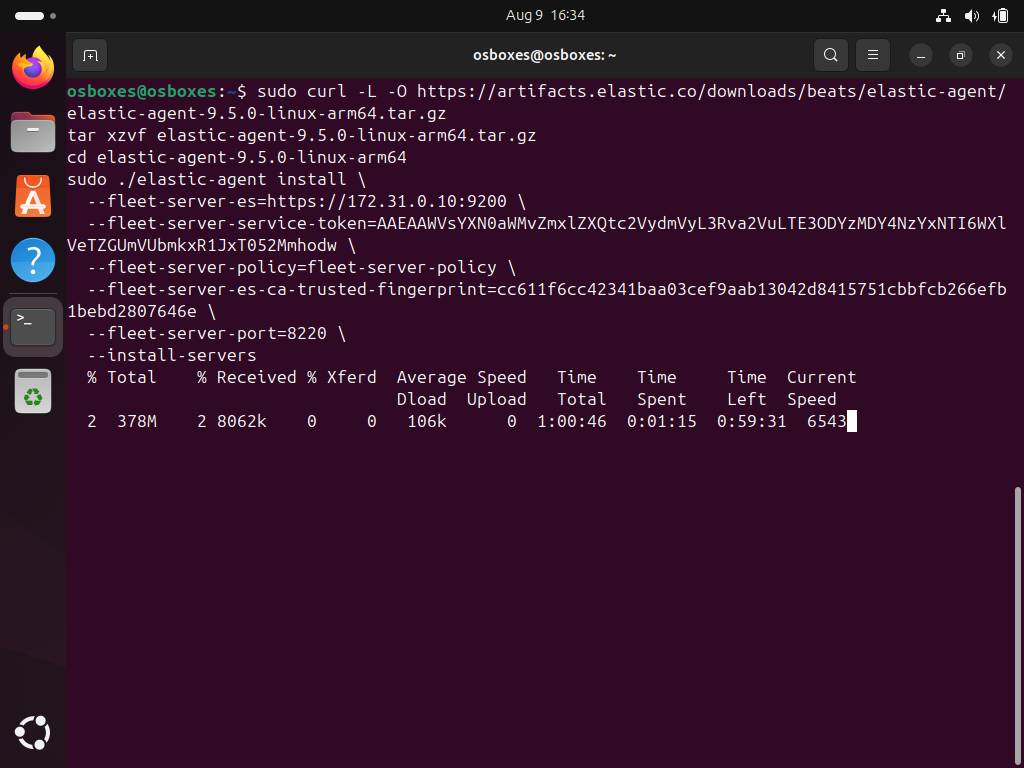
Troubleshooting the Fleet Server installation
The installation initially failed. Looking closely at the installation output, I noticed that the script was downloading an agent package for the wrong architecture, which caused the installation to fail on my Fleet Server.
Initially, I thought the problem might be related to the user account, so I tried running the installation as root.
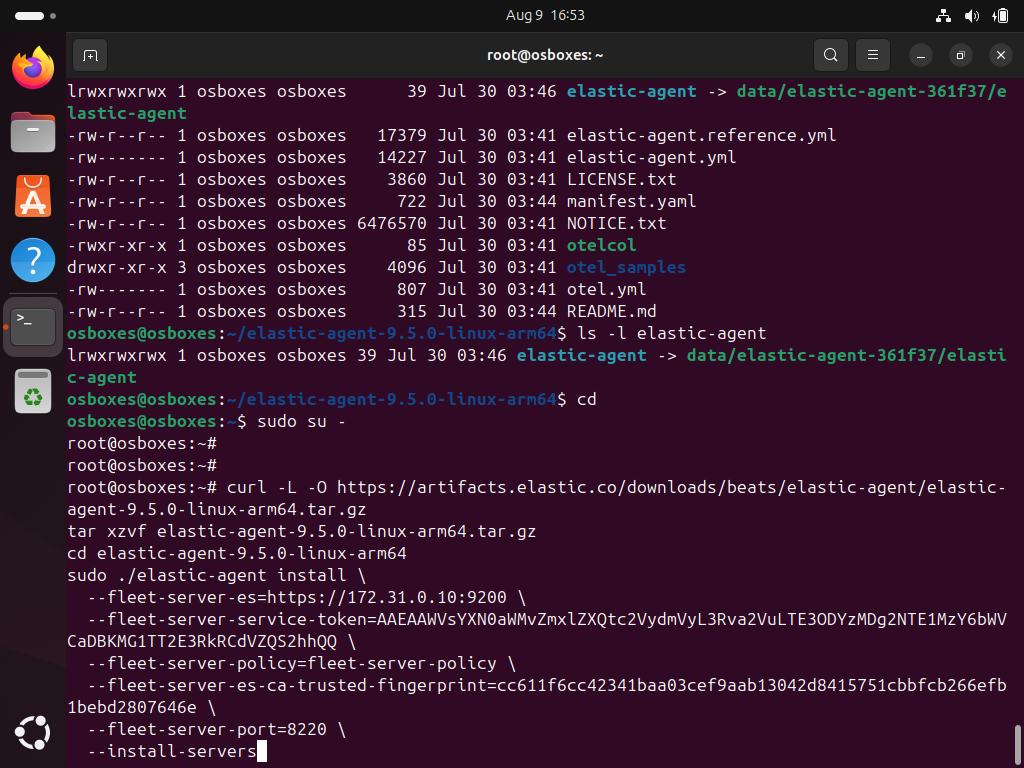
However, the installation still failed.
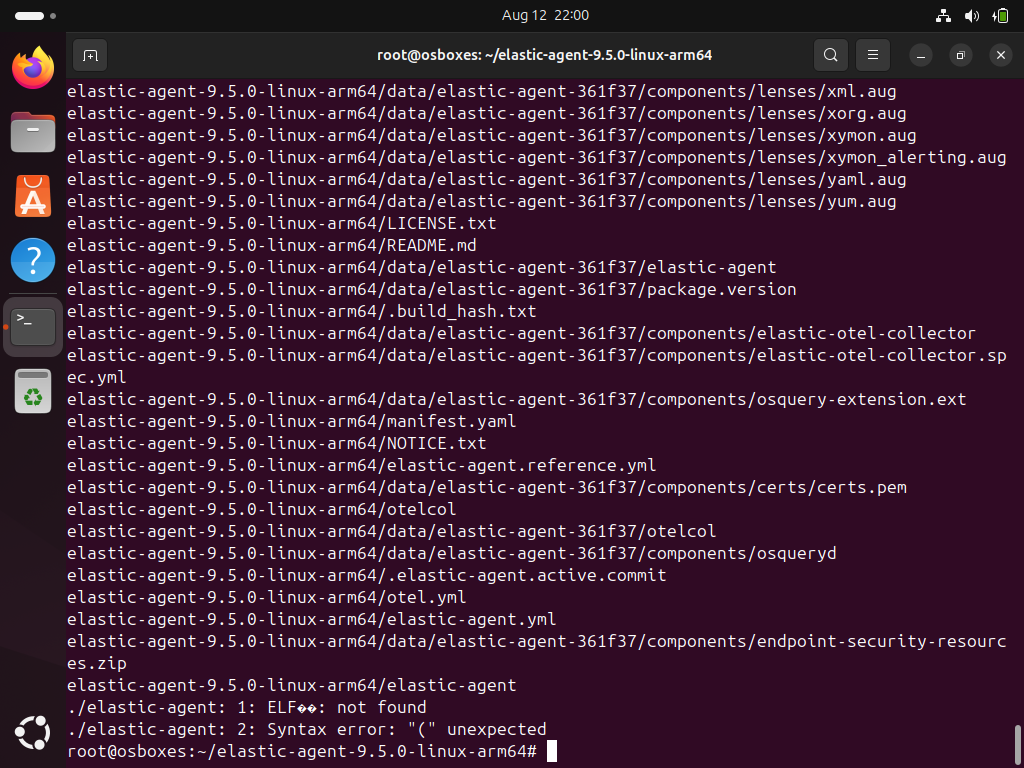
I then corrected the download to use the x86_64 version of the Elastic Agent. I also removed the files from the previous installation attempt before trying again.
As Steven demonstrated in the Day 7 video, some troubleshooting was required because the generated installation command was not working correctly in my environment. The download portion worked, but the remaining commands did not.
Instead of running the entire command at once, I downloaded the correct x86_64 package and executed each step individually.
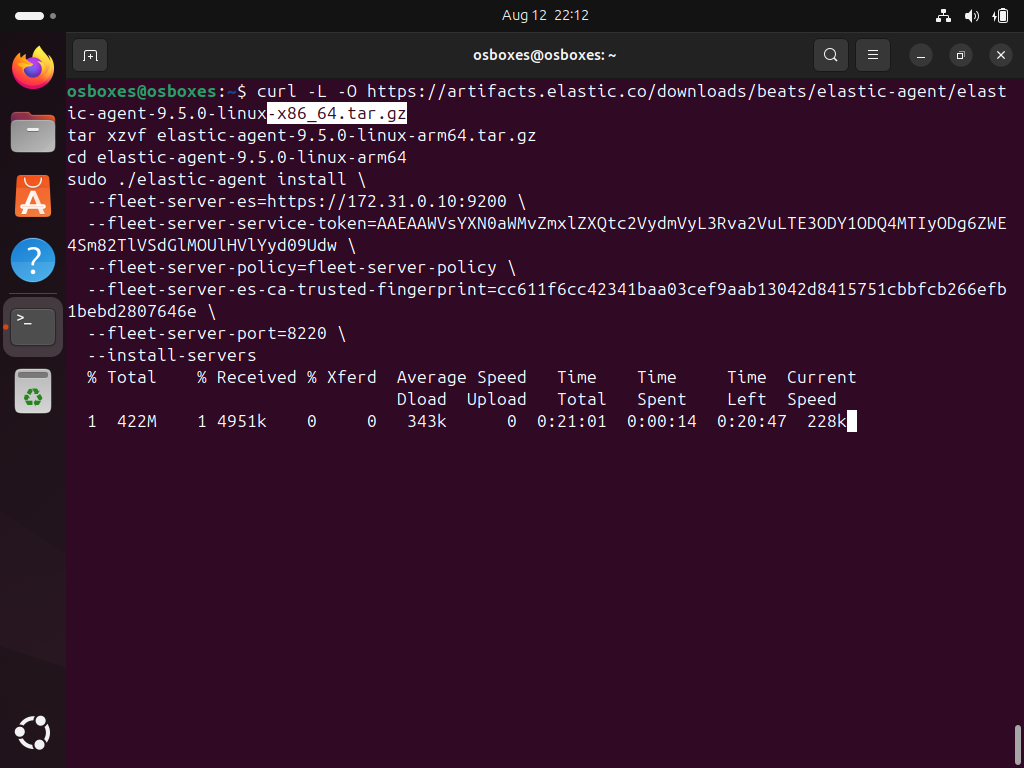
Once the agent package was downloaded, I extracted its contents, changed into the extracted directory, and proceeded with the installation.
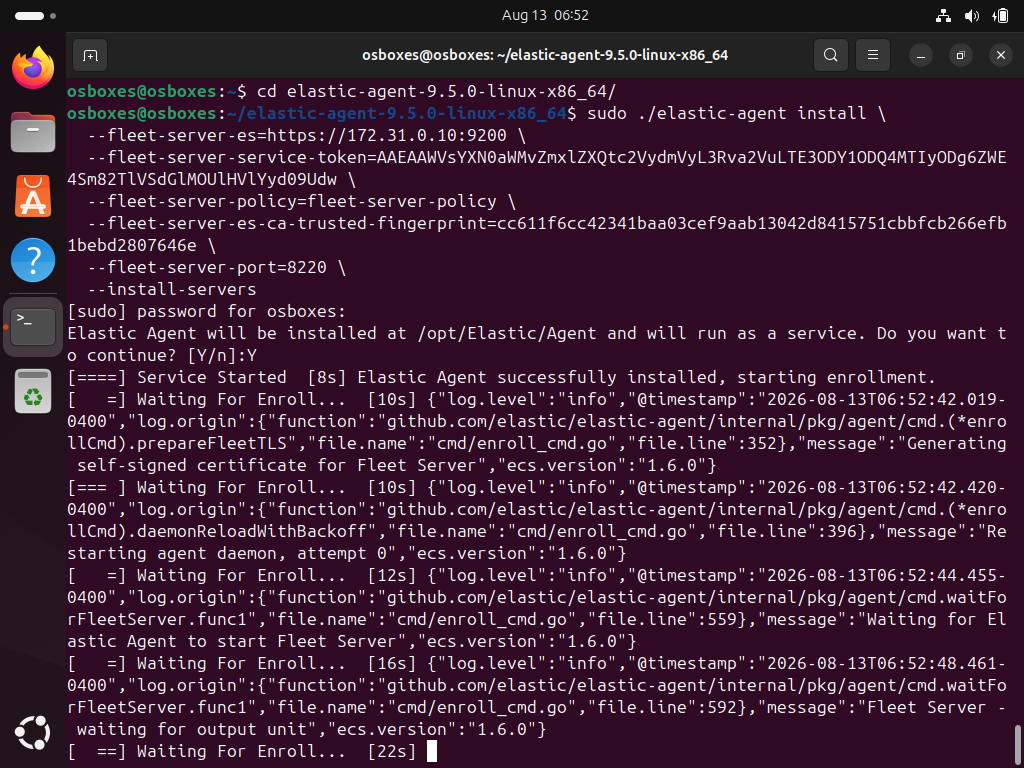
The installation completed successfully.
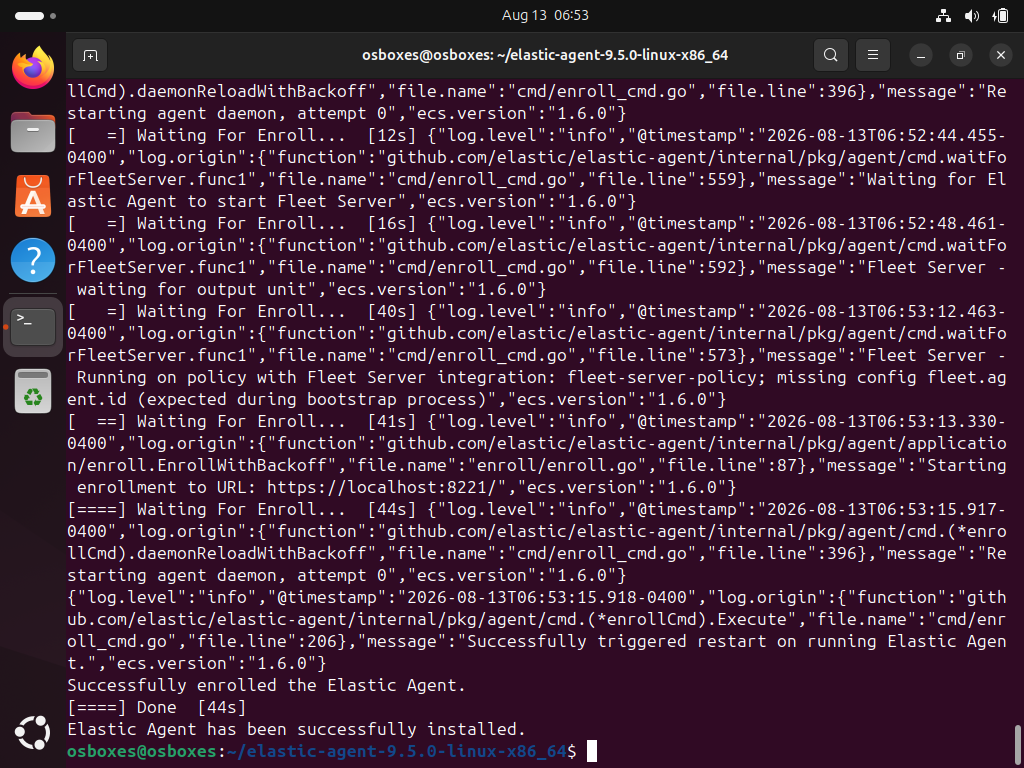
We can now return to the Elastic web interface and verify the Fleet Server enrollment. The interface shows the message “Fleet Server connected.”
We can then click Continue enrolling Elastic Agent to proceed with adding our Windows Server.
Installing Elastic Agent on Windows Server
We previously deployed a Windows Server 2019 VM in VirtualBox with the name MYDFIR-WIN.
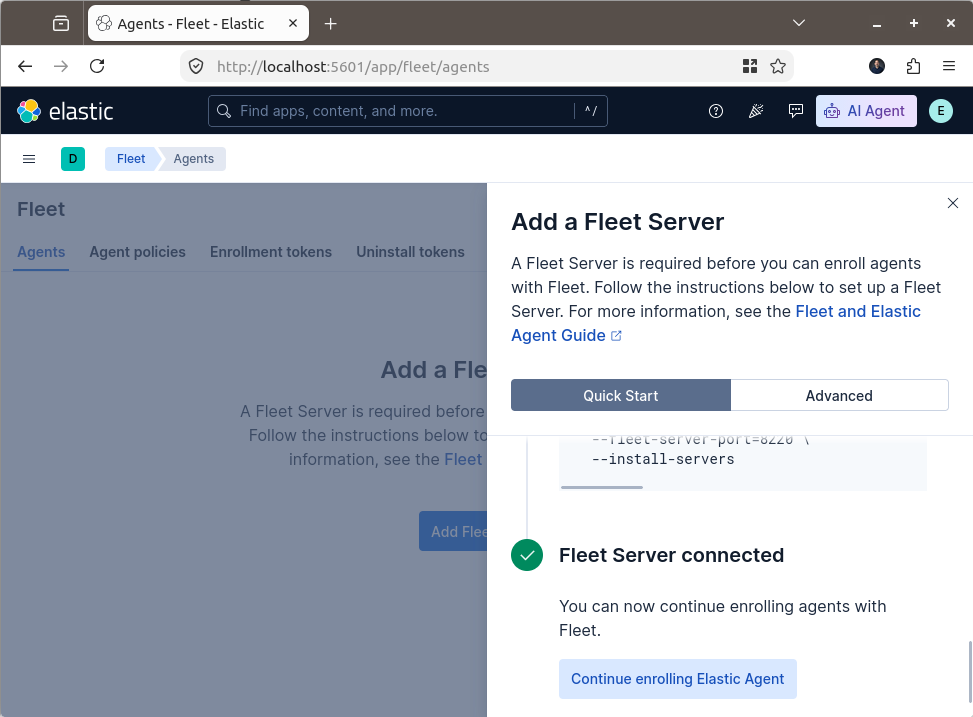
Now we can add an Elastic Agent to the Windows Server. From Fleet, click Add and select Agent.
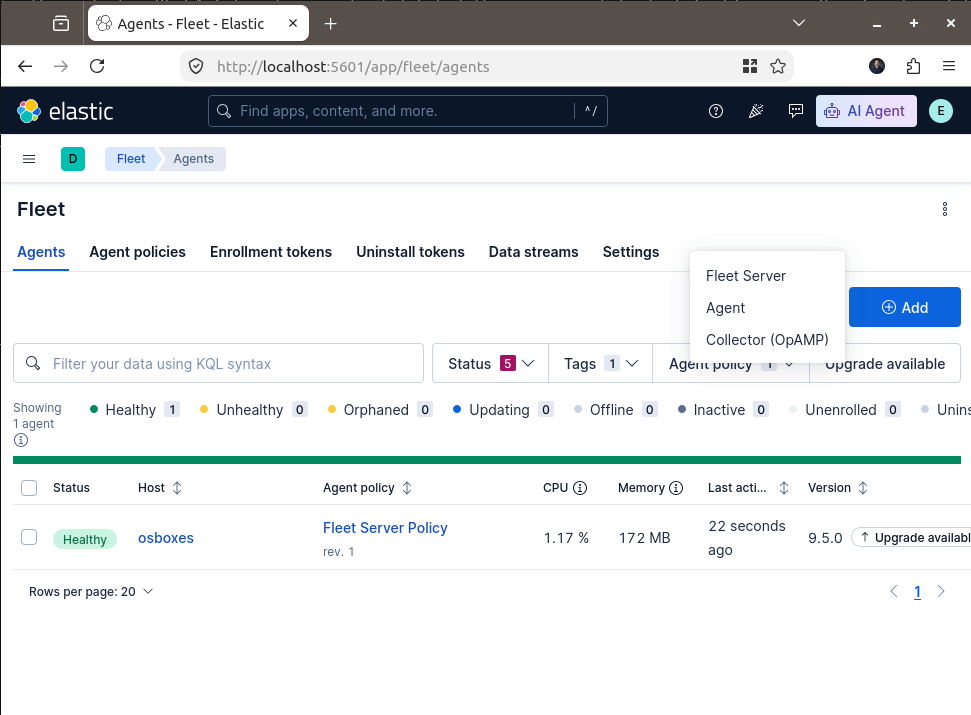
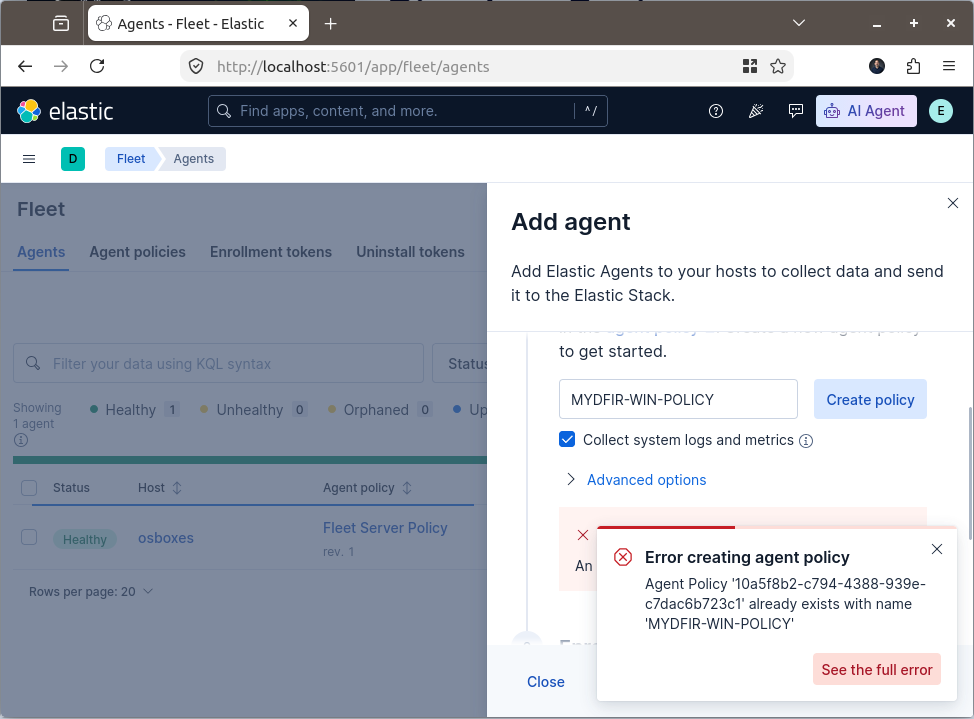
We create an agent policy named MYDFIR-WIN-POLICY and click Create Policy.
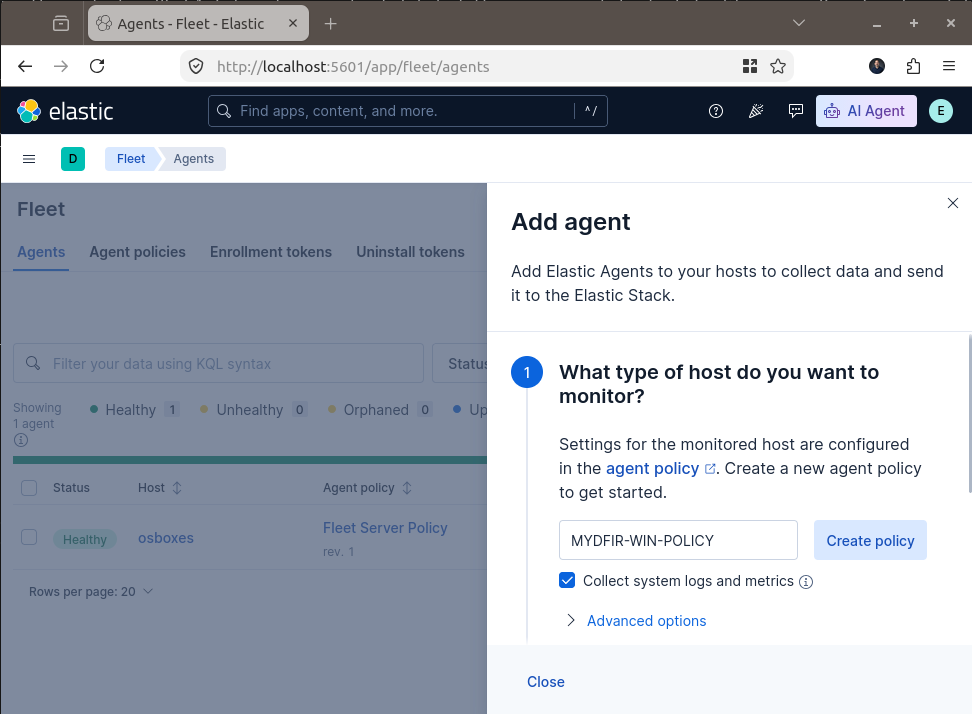
Interestingly, I received an error indicating that the policy already existed. I don’t remember creating this policy previously.
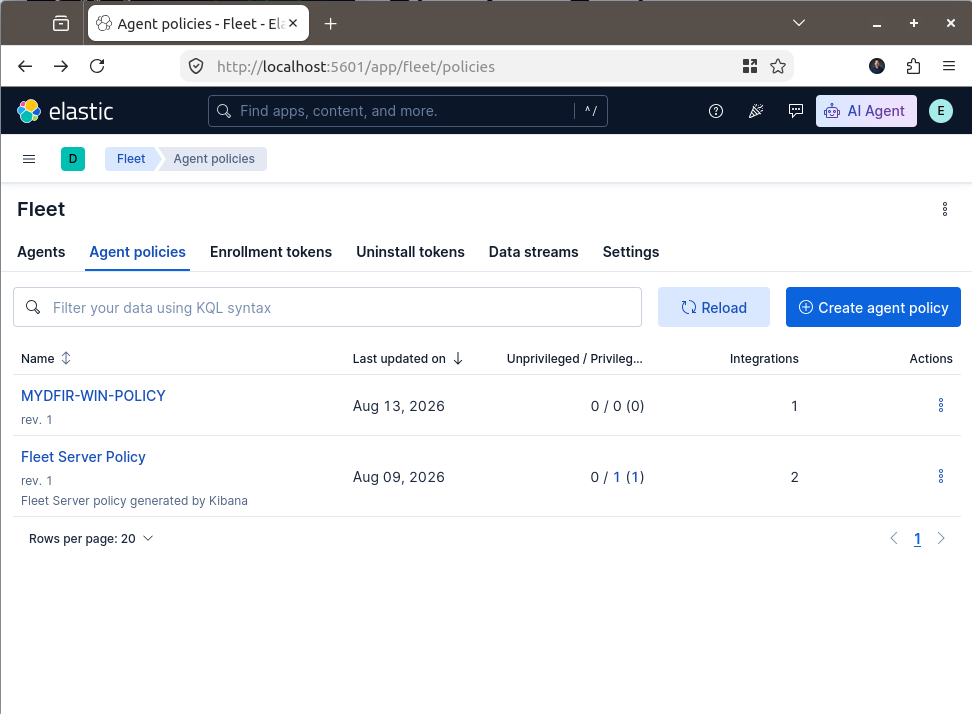
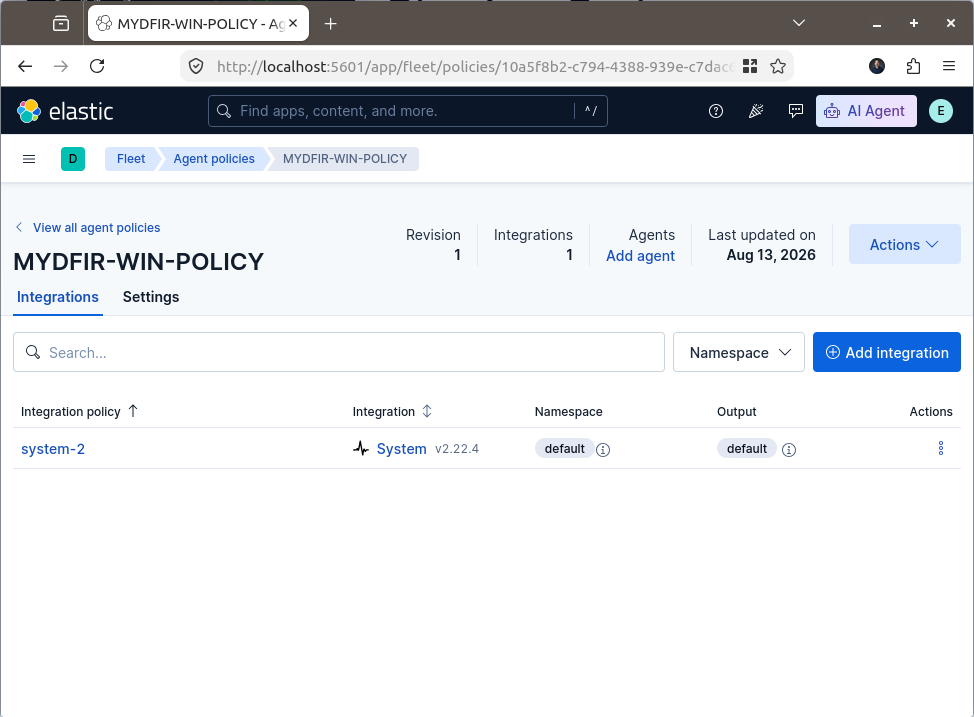
I navigated to Agent Policies to see what policies were already configured, and I found the MYDFIR-WIN-POLICY policy already there. I clicked on it to inspect the configuration.
Inside the policy, I clicked Add Agent to add the Windows Server agent.
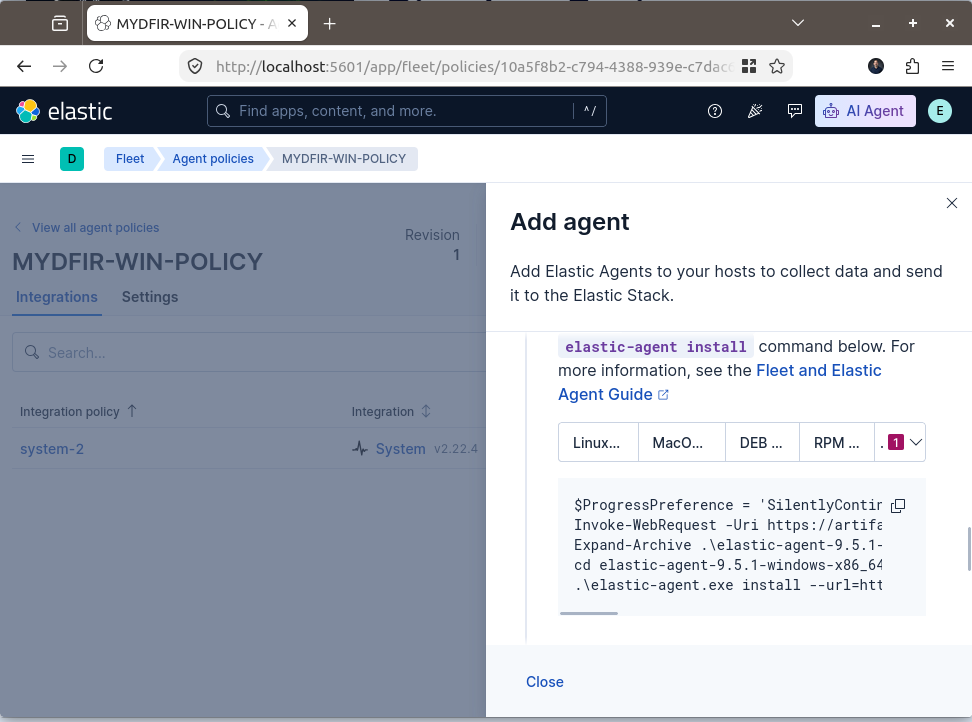
I scrolled down to the agent installation section, selected Windows, and copied the installation command.
Troubleshooting the Windows Agent installation
Before running the installation command, I ran into several issues with the Elastic Agent installation.
I noticed that the Fleet Server URL and port in the generated command were not correct for my lab environment, similar to the issue Steven demonstrated in his video.
I changed the Fleet Server IP address to point to my Fleet Server:
172.31.0.20
I also changed the port from:
443
to:
8220
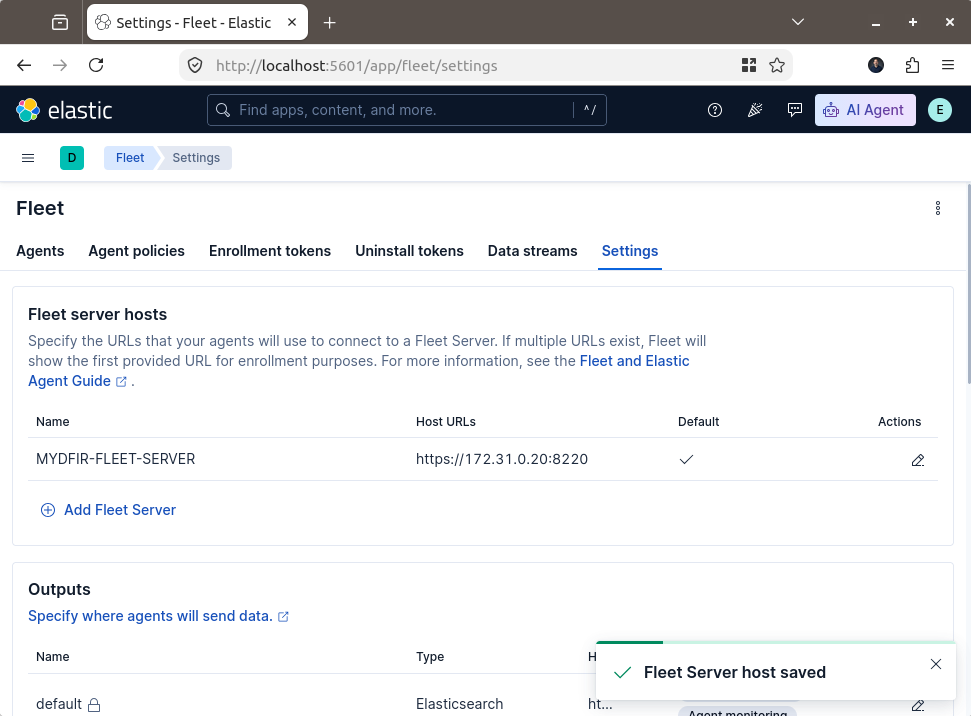
With the Fleet Server configuration corrected, I copied the installation command to the Windows Server and ran it from an elevated PowerShell window.
For this lab, I also used the --insecure option and confirmed the installation by entering Y when prompted.
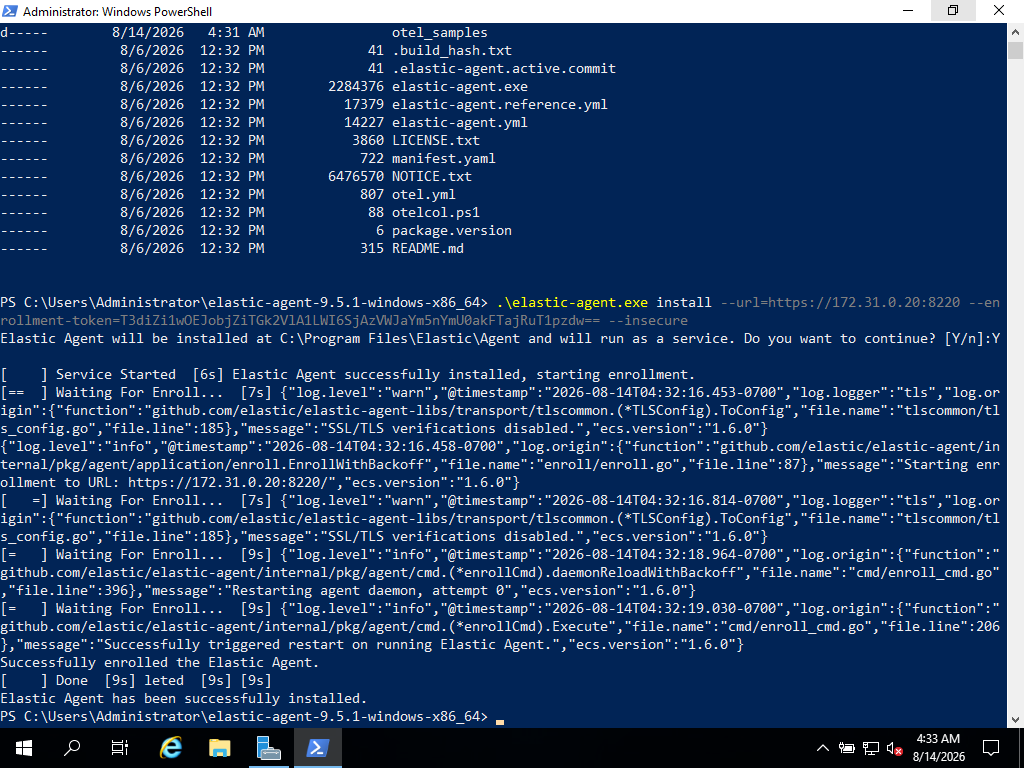
The Elastic Agent was successfully installed on the Windows Server, allowing it to communicate with our Fleet Server.
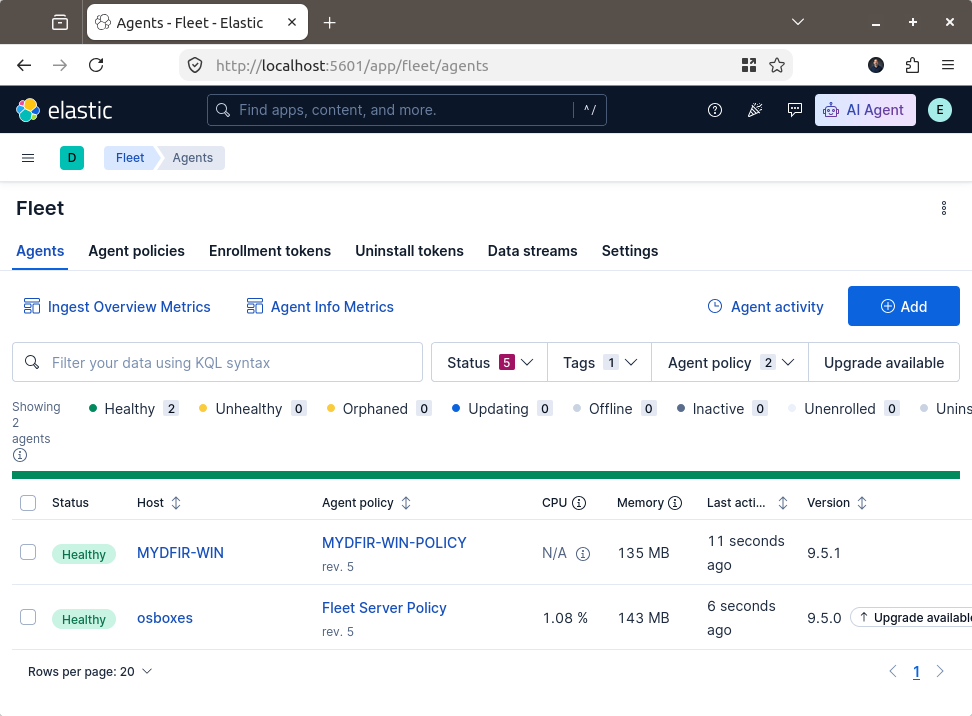
We can verify the enrollment from the Fleet interface, where the Windows Server appears as an enrolled agent.
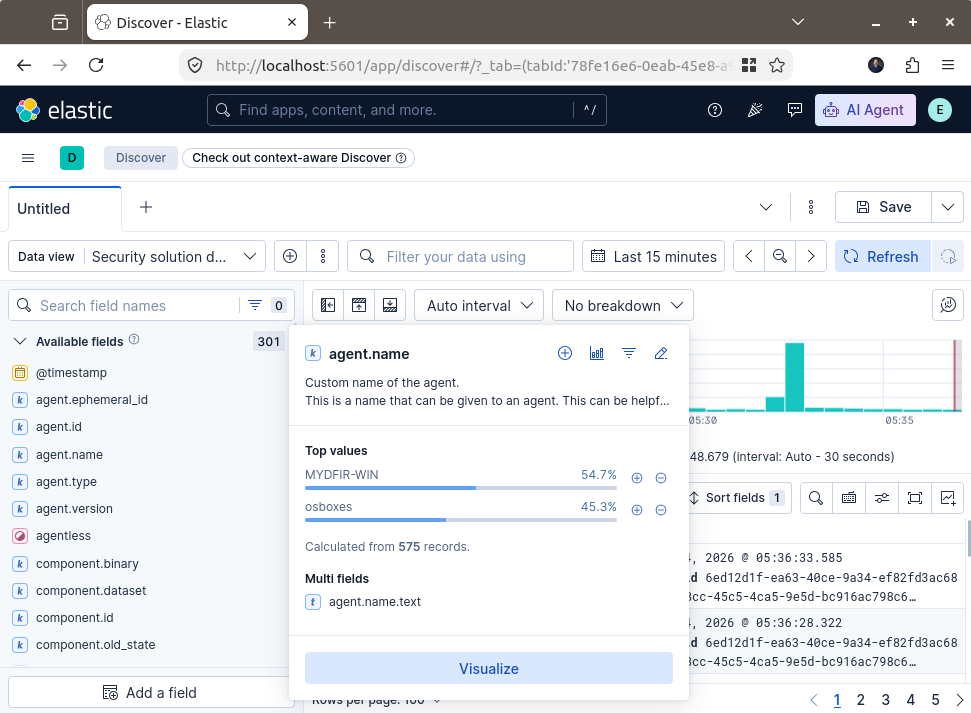
We can also verify that logs are being collected by searching Elasticsearch for the Windows Server’s agent.name.
Next Steps
With the Fleet Server and Windows Server agent configured, we are ready to continue with Day 8 of the MYDFIR 30-Day Challenge.
The next step will introduce Sysmon, which will provide additional Windows telemetry and help us collect more detailed information for our DFIR and detection activities.